Tools Required
- Torx T10 screwdriver
- Torx T20 screwdriver
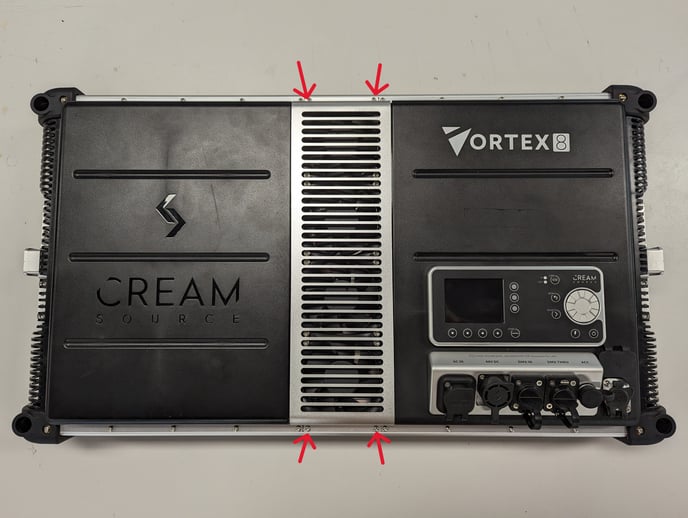
- Remove the (4) screws fixing the fan grille in place using a T10 screwdriver. Once removed there are spacers for the grille on the top and the bottom that are no longer attached; take care not to lose these.
- Remove the (4) screws holding the damaged fan in place using a T20 screwdriver. Take care not to lose any screws into the heatsink of the fixture as they could cause damage to the fixture if not retrieved.
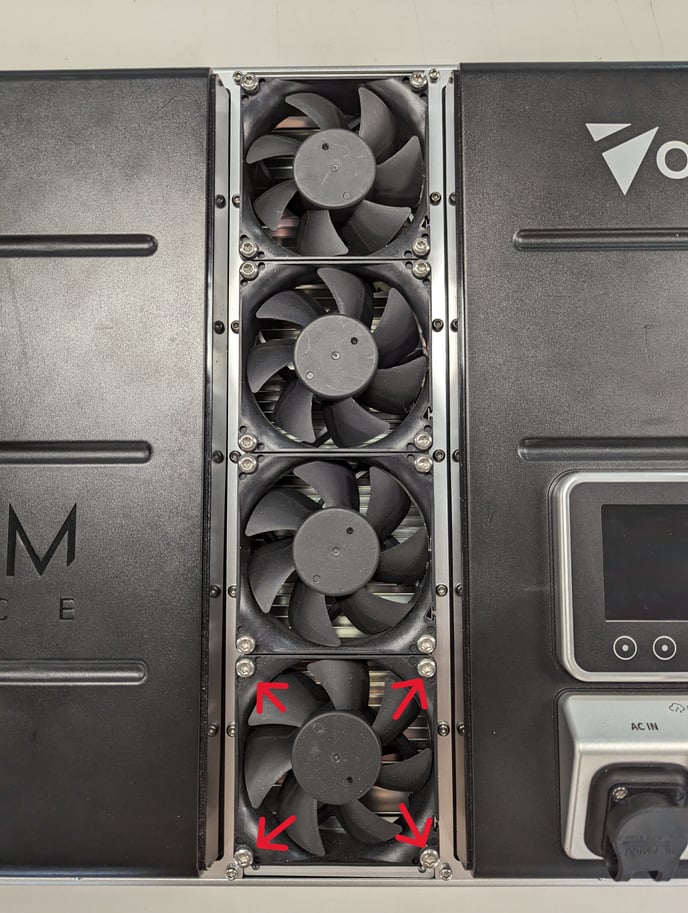
- Lift out the damaged fan and unclip the connection, making sure you can plug the new fan into it.

- Attach the new fan and fasten in place using the same M4 screws (T20 torx bit) used for the old fan. Make sure to torque these to approximately 1.6 Nm (14.16 lbf.in) so as to not accidentally cause any damage to the fan or the fixture.
- Attach the fan grille again using the M3 screws (T10 torx bit). Make sure the spacers are appropriately aligned so they are screwed in and the screws are tightened to approximately 1.6 Nm (14.16 lbf.in) of torque to avoid stripping the threading.