![cream-source-icon-white.png]](https://knowledge.creamsource.com/hs-fs/hubfs/cream-source-icon-white.png?height=24&name=cream-source-icon-white.png)
Vortex8 and Vortex4
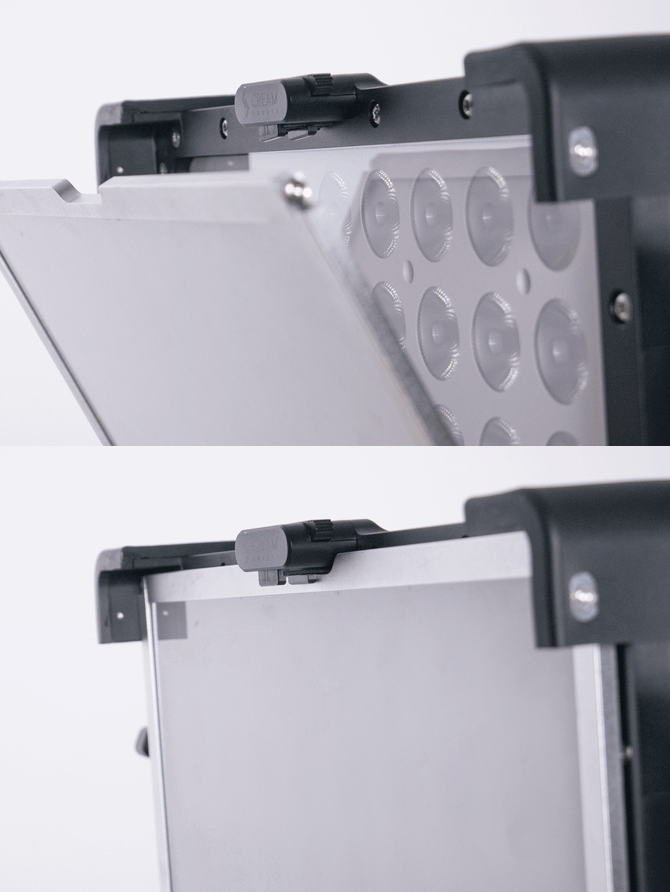
1. Slide the diffuser into the first filter rail. The diffuser can be installed either way around with the same results (shiny side can face inwards or outwards)

2. Push top latch down to engage the lock on each side.
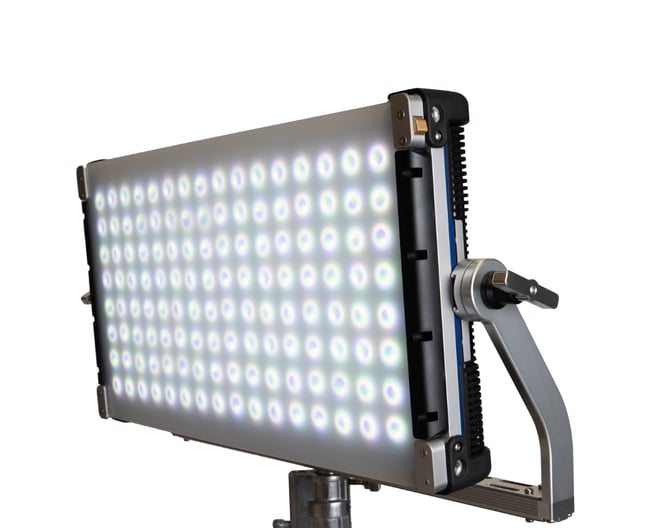
Vortex8 Soft and Vortex4 Soft
The Vortex Soft series, Vortex24 and Vortex2 utilize a front load mounting system for modifiers. All Creamsource modifiers are compatible with both top load and front load systems.
1. Place the bottom side of the modifier into the filter rail so it protrudes out at the top, but feels secure and sturdy.
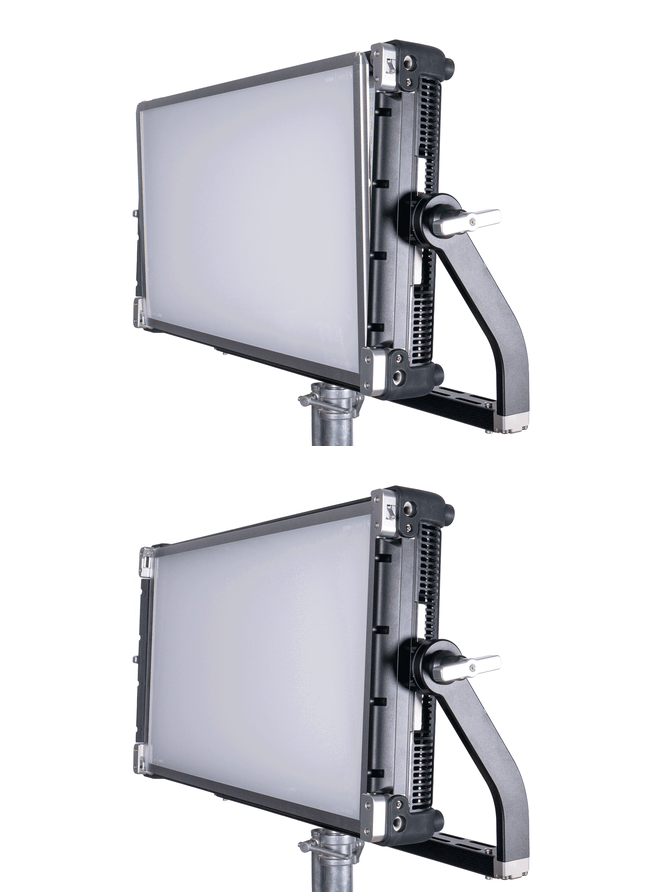
2. For the Vortex8 Soft and Vortex4 Soft there are two tabs on each side of the fixture which make up the latching system. Pull those tabs upwards and push the top of the modifier towards the face of the light so it slots into the corresponding rail.
Vortex24
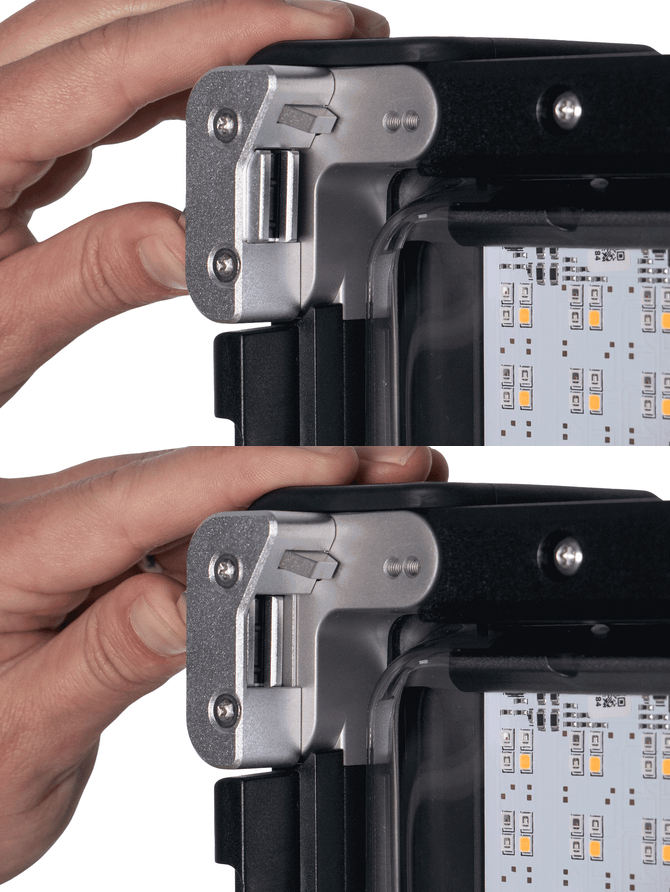
1. The latch for the Vortex24 modifiers are located on the top corners of the modifier. An inwards slide of both mechanisms will release the modifier.
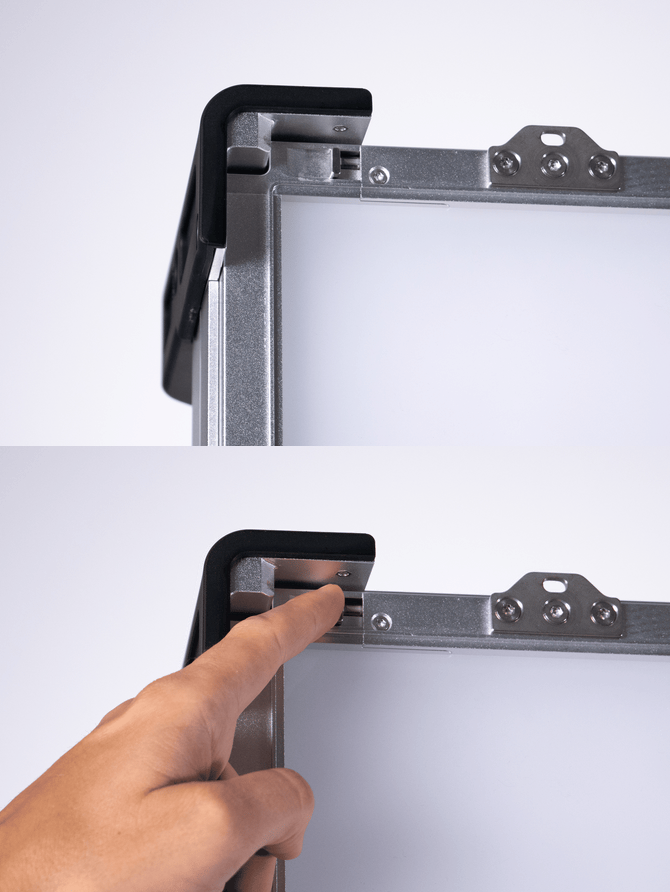
2. After placing the bottom of the modifier in the filter slot, push the top of the modifier towards the face of the light. To insert a modifier, you don't need to slide the latches. Sliding the latches will be required for removing the modifiers.
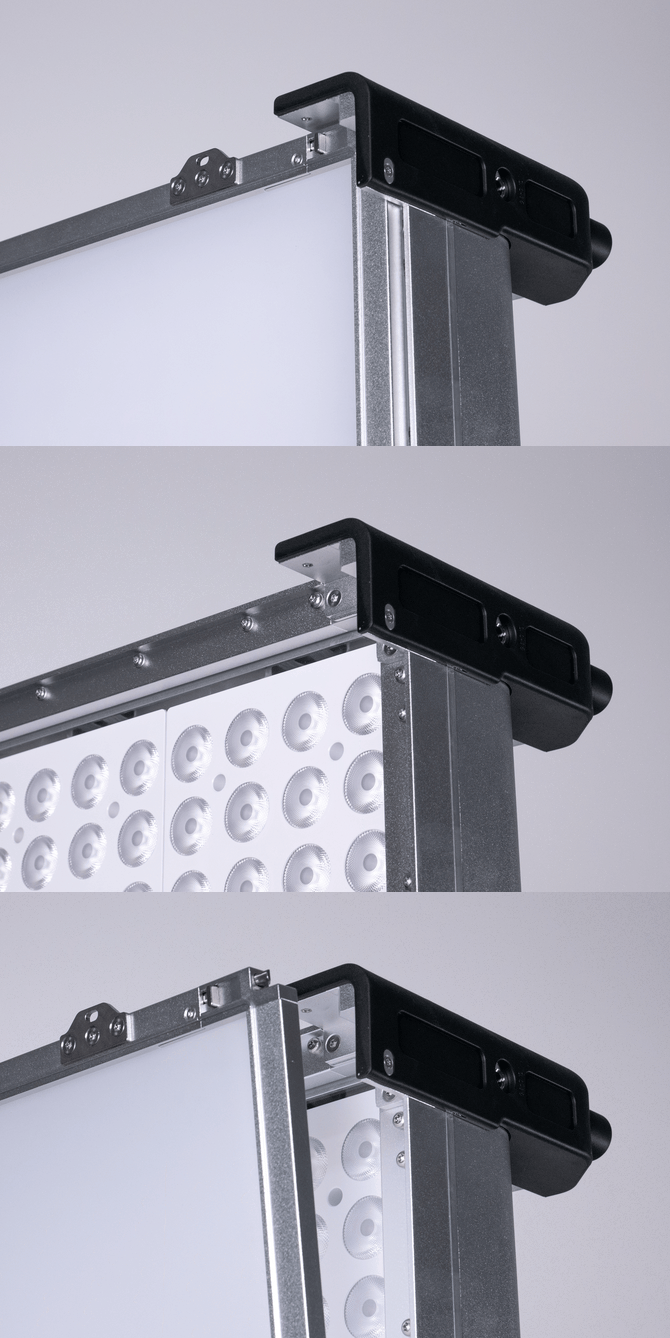
Vortex2
1. The Vortex2 utilizes a single latch system located on the center of the fixture. Pull the latch up to allow the Vortex2 to accept modifiers.
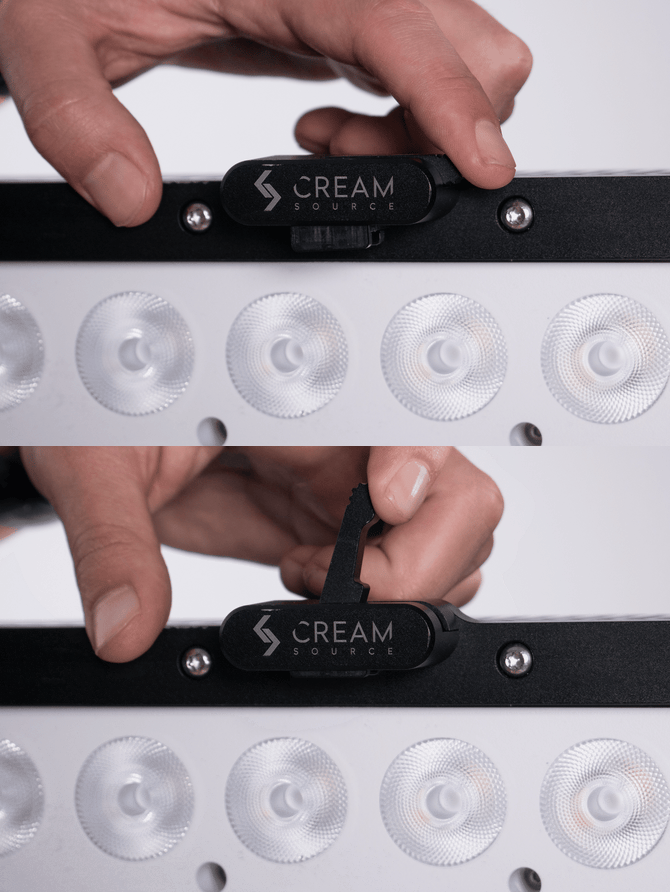
2. Insert the bottom of the modifier into the filter rail. Pull the latch up and push the top of the modifier towards the face of the light. Then release the latch to lock the modifier.